Part 5 - Splashdown!
The final wash.
Now it is time for the most enjoyable part of Primary Micropointillism; the
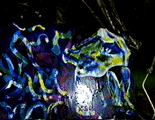
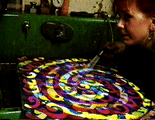
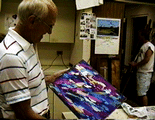
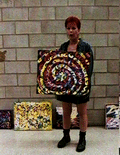
final 'Splash-down'! As you wash the surface, the block is washed away and
all the colors are revealed in their magnificence.  Notice how vibrant the secondary colors are. I believe this is because the
secondary colors are to some degree mixed in the brain, rather than on the
canvas. I also suspect that the vibrancy comes about due to the pigment
being spread so thinly onto the canvas that some of the light readily
 penetrates the lighter pigmented areas and is defused off the white primer.
The light then radiates back through the translucent pigment, producing an
affect which is not unlike the translucency achieved by the Dutch Masters.
 The blue and red you will be using are especially good for
Micropointillism, as they allow light to pass quite readily.
After looking at your image for a while, you might wish to modify a>
painting. If you wish you can go back into the image- blocking and
spraying either red or blue over the initial image is quite possible;
however, there are two observations I would like to make:
Firstly, it is always easier to make an image darker than it is to make it
lighter.
 Secondly, you can almost never use yellow on top of the initial image.
Unlike the red and blue, yellow is an opaque color and blocks the colors
underneath. For the most part, if you need to go back into yellow, prime
(erase) that part of the surface you wish to rework.
Fixing: At this stage your image is susceptible to damage from scratching.
I have yet to find a method to successfully repair an image damaged in such
a way.
In order to avoid damage to the surface of the image, prepare the following
recipe:
10% clear matte acrylic medium, 30% clear gloss acrylic medium, 60% water.
Stir and strain through pantyhose. When coated onto the surface, this
application leaves the image in a neutral state - as if there was no
coating over the paint. However, this formula is not an absolute.
The quantity of each may vary according to preference; some of you may want
a more glossy, reflective finish ( use slightly more gloss;) others may
prefer a more diffuse finish, in which case you would use more matte.
The thickness - which is controlled by the quantity of water - may also
vary. However, be careful not to make the mixture much thinner than a milky
texture, otherwise the fix tends to separate on the surface of the image.
Your image is now protected from all but the severest damage.
I have been told by conservators that from a chemical point of view Primary
Acrylic Micropoint is chemically stable. In other words, any paintings
executed in this medium should stand up well to the test of time.
|